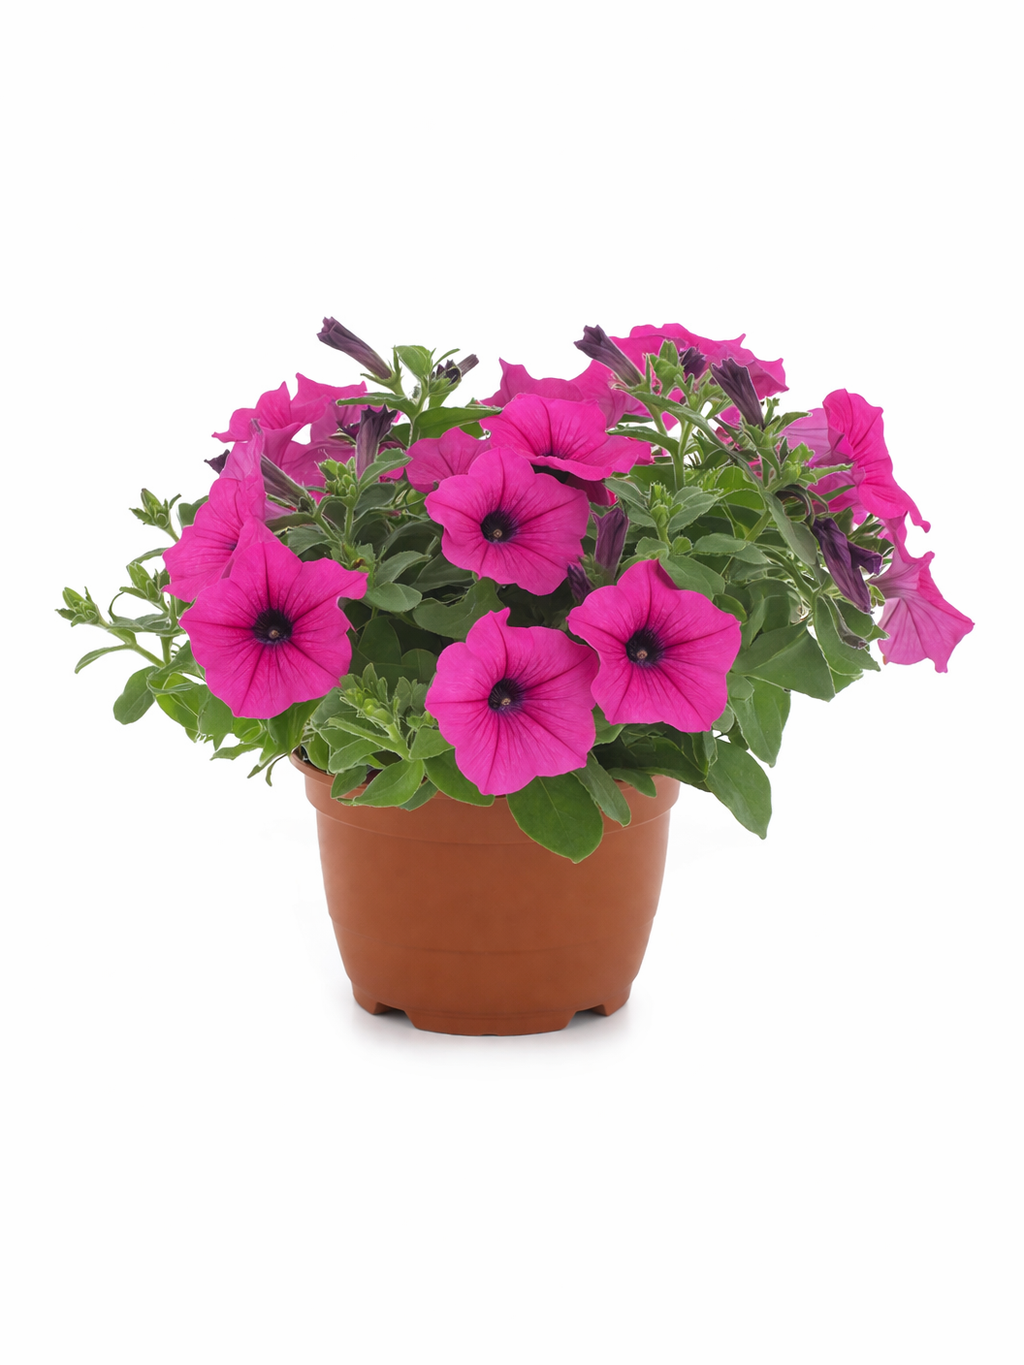
Petunia Tissue Culture Protocol
Welcome to this comprehensive Tissue Culture Protocol for the Petunia genus. Whether you are aiming to overwinter a spectacular hybrid or you are diving into cloning plants at home for your spring garden, this guide is designed specifically for the home hobbyist.
Micropropagation allows you to create countless identical clones of your favourite varieties, and with a basic home laboratory setup and solid sterile technique, Plant Tissue Culture will revolutionise how you propagate your bedding plants.
Explant
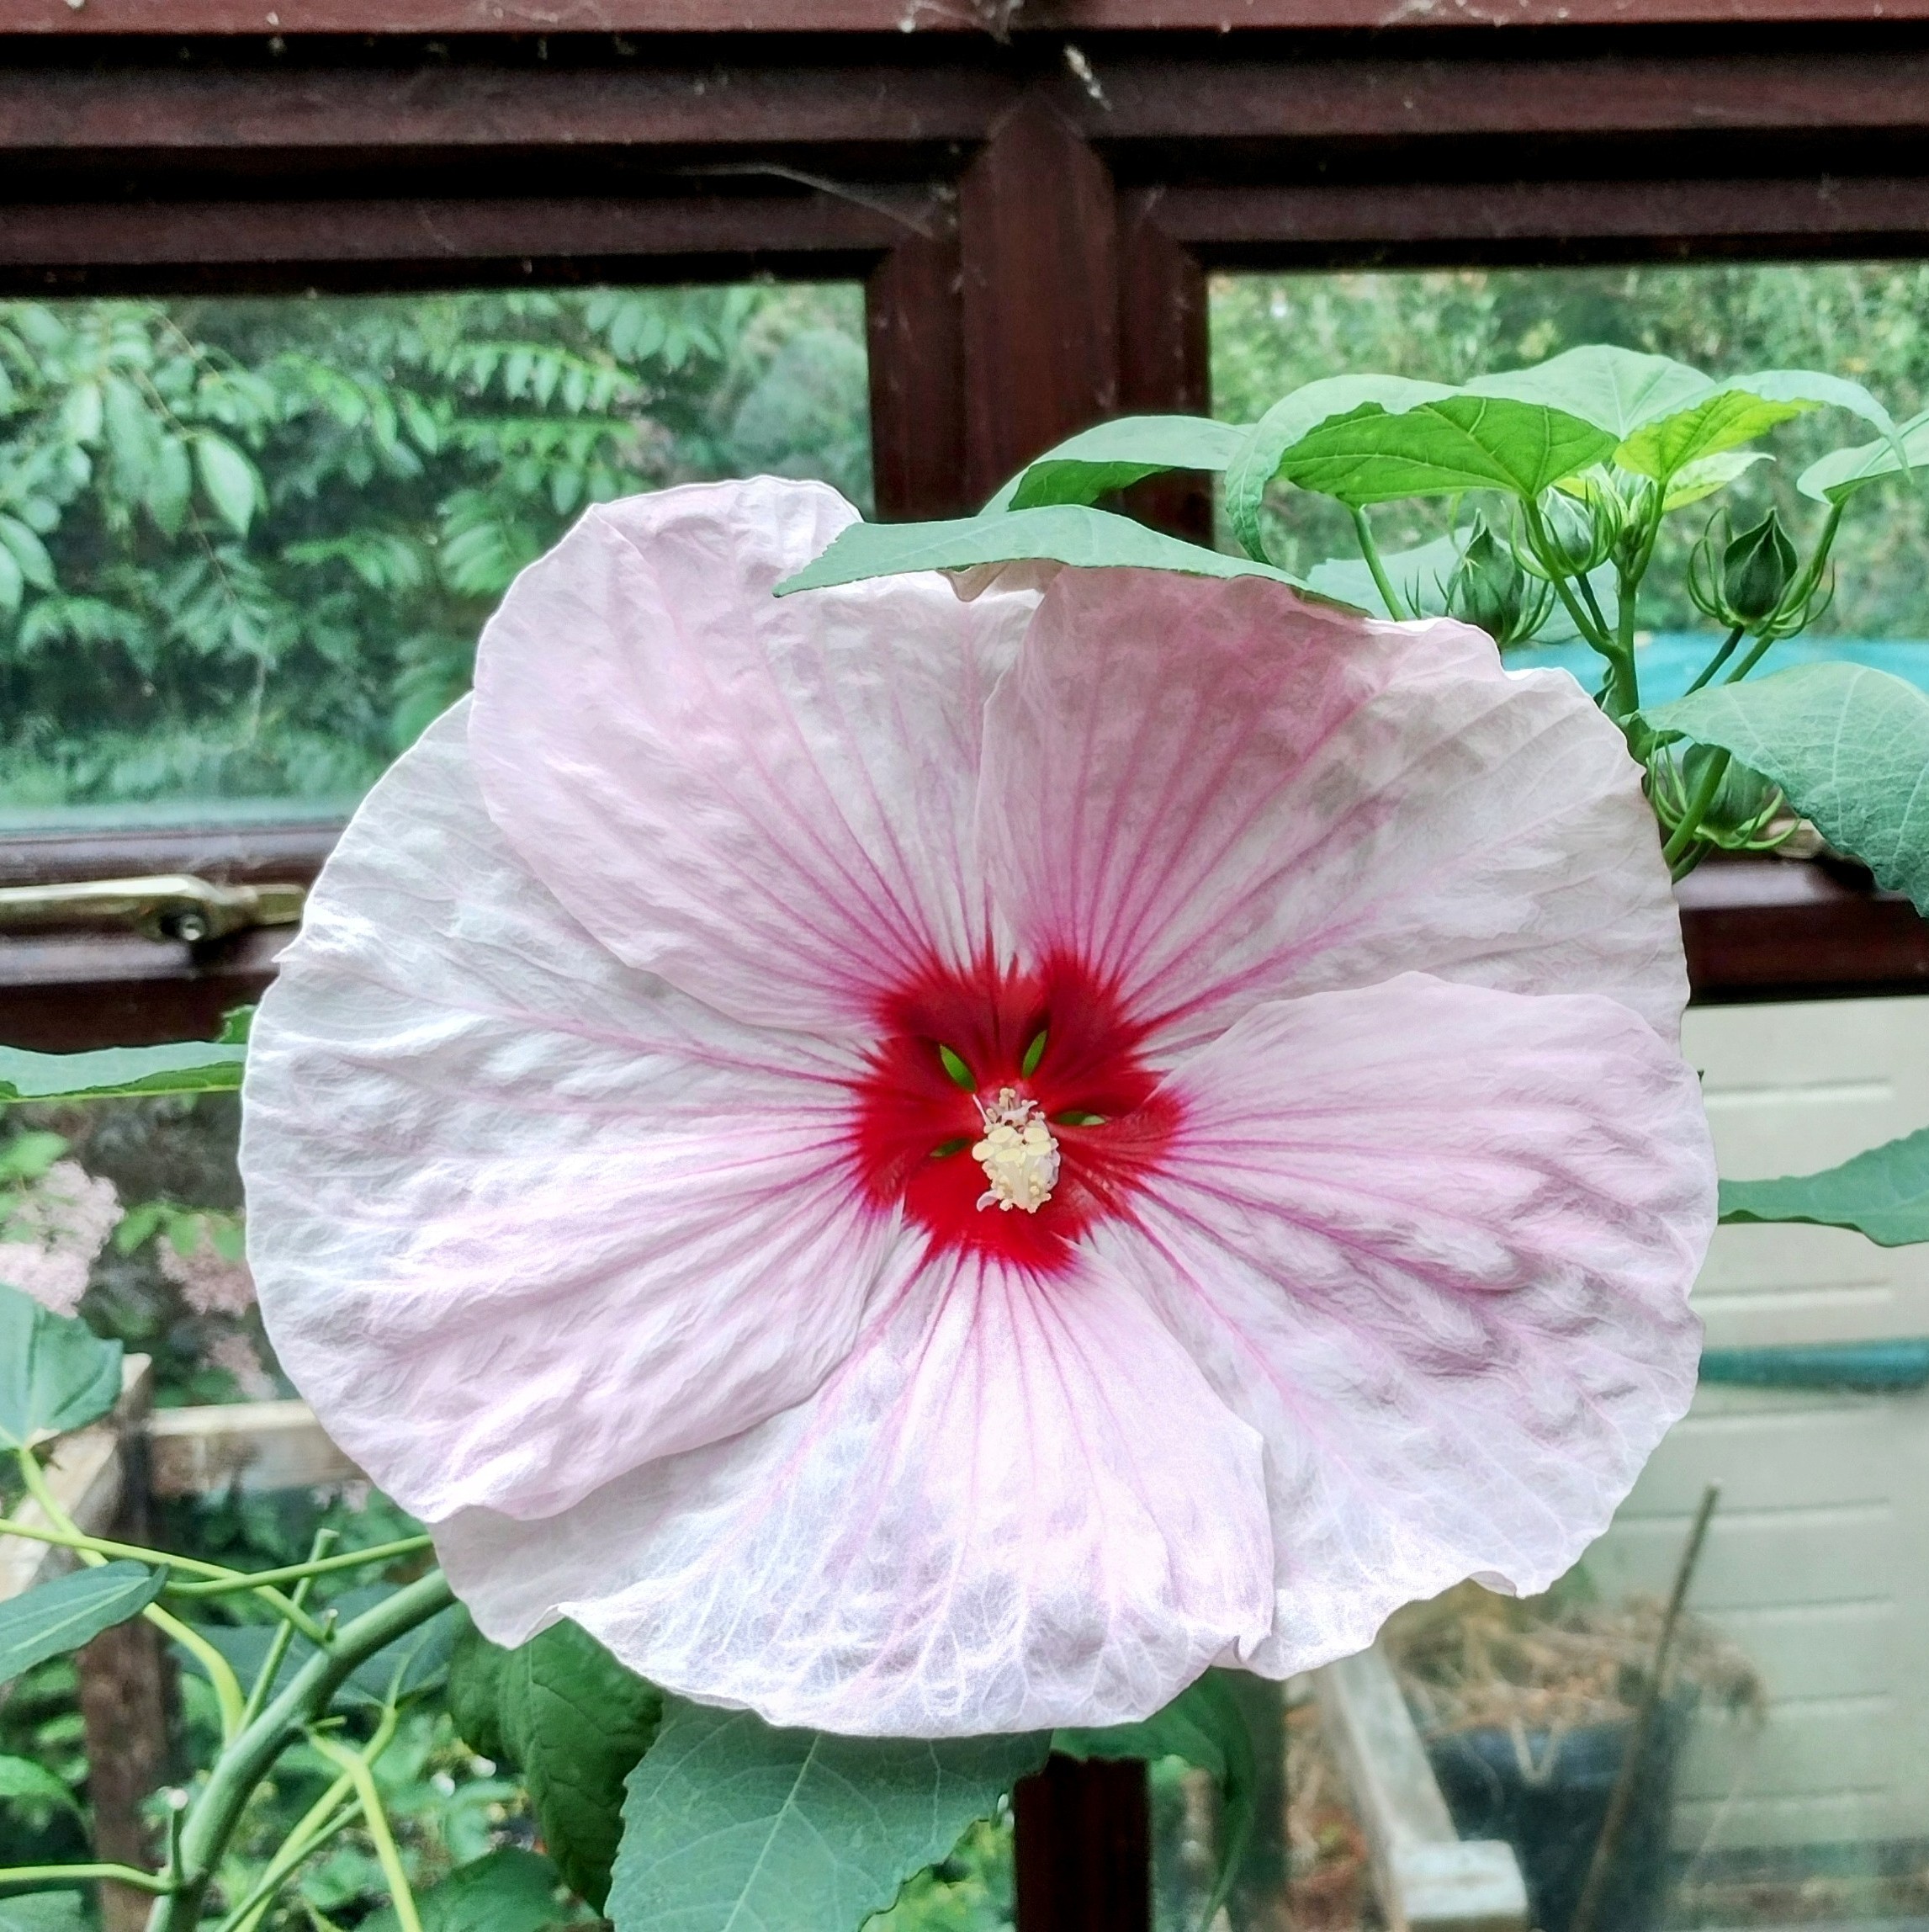
For successful Petunia tissue culture, the most reliable explants are shoot tips (the very top growing point of a stem) or nodal segments (a piece of the stem containing an axillary bud). While Petunias can also be propagated from leaf squares, using nodes and shoot tips ensures the fastest true-to-type growth, meaning your clones will perfectly match the parent plant. Select fresh, actively growing green stems, avoiding older, woody growth near the base of the plant.
Sterilisation Method
Petunia stems and leaves are covered in sticky, glandular hairs (trichomes). These hairs are excellent at trapping dust, insects, and most problematically, mould spores and bacteria. A thorough pre-wash and the use of a surfactant are absolutely essential. All steps from step 4 onward must be completed inside your sterile workspace.
- Pre-wash: Carefully strip the large leaves away from the stem to expose the nodes. Vigorously wash the stem sections under running tap water with a few drops of standard dish soap for 5 to 10 minutes. Gently rub the stems with your gloved fingers to help remove the sticky resin.
- Alcohol Dip: Submerge the explants in 70% Isopropyl Alcohol (IPA) for exactly 30 seconds to break down the remaining sticky residues and perform an initial surface sterilisation.
- Bleach Solution: Transfer the explants to a sealed container holding a 10% household bleach solution (1 part standard unscented bleach to 9 parts water). You must add 3 to 4 drops of dish soap or Tween-20 to act as a surfactant, ensuring the bleach can penetrate past the microscopic hairs.
- Agitation: Shake the container gently but continuously for 10 minutes.
- Sterile Rinses: Carefully drain the bleach and rinse the explants three separate times using sterile, distilled water. Leave the explants in the water for 3 minutes for the first two rinses, and 5 minutes for the final rinse to ensure all chemical residue is removed.
Media Formulation [1 Litre]
The following recipes are based on a 1-litre volume using standard Murashige and Skoog (MS) media powder. For all stages, you will need 30 grams of standard table sugar (sucrose) and 7-8 grams of agar as a gelling agent. Ensure the pH is adjusted to 5.6-5.8 before adding the agar and pressure cooking (sterilising) your media.
Stage 1: Establishment
- 100% (Full-strength) MS Media
- 1.0 mg/L BAP (6-Benzylaminopurine)
- Goal: To safely introduce the stem tissue to the nutrient media, encourage the axillary buds to swell, and monitor the container for any hidden contamination.
Stage 2: Multiplication
- 100% (Full-strength) MS Media
- 2.0 mg/L BAP
- Goal: The elevated cytokinin (BAP) forces the Petunia tissue to break apical dominance and rapidly push out a dense cluster of multiple new shoots.
Stage 3: Rooting
- 50% (Half-strength) MS Media
- 0.5 mg/L IBA (Indole-3-butyric acid)
- Goal: Petunias root exceptionally quickly. Lowering the fertiliser content and adding a mild rooting hormone prepares the fast-growing plantlets for successful acclimatisation into soil.
Sterile Environment Methods
Once your explants are sterilised, they must be trimmed and plated in a completely sterile environment to prevent airborne mould and bacteria from ruining your cultures.
Still Air Box (SAB) Method
A Still Air Box relies on completely still air to prevent contaminants from floating into your workspace.
- Preparation: Spray the entire interior of the SAB with 70% IPA and wipe it down with a clean paper towel.
- Load the Box: Place your sealed, sterile media containers, your sterile water container (holding the explants), and your sterile tools into the box. Spray the outside of every container with IPA as it enters the box.
- Wait: Close the armholes and wait 10 minutes. This crucial step allows the alcohol fumes to settle and any disturbed airborne particles to fall to the floor of the box.
- Workflow: Insert your arms slowly. Minimise sudden hand movements to keep the air still. Using your sterile tools, carefully trim the bleached, dead ends off the node or shoot tip to expose fresh, green tissue.
- Plating: Open your media container, place the explant gently on the surface of the agar (ensuring the bud is facing up and not buried), and quickly seal the lid. Do not reach your hands or arms over open containers.
Laminar Flow Hood Method
A Flow Hood pushes a constant stream of HEPA-filtered, sterile air toward you, creating a highly forgiving clean workspace.
- Preparation: Turn on the flow hood and let it run for at least 30 minutes before working to purge the room air. Wipe the stainless steel working surface with 70% IPA.
- Placement: Place your sterile tools, media, and explants in the middle of the hood workspace. Keep all items at least 6 inches from the front edge of the filter.
- Mind the Airflow: The most critical rule is to never block the clean airflow. Do not place your hands, non-sterile items, or tool handles behind open containers or the explant, as you will cast a "dirty shadow" of unfiltered air over your sterile work.
- Workflow: Using your sterile tools, neatly trim the bleached outer edges of the node or shoot tip to expose perfectly green, living tissue.
- Plating: Open the media container at a slight angle facing the filter. Plate the explant on the agar with the bud facing upward, and close the lid immediately.
Notes
Hyperhydricity (Glassiness): Fast-growing, soft-tissued plants like Petunias are prone to hyperhydricity in tissue culture. This causes the leaves to look wet, thick, and glassy due to excess water uptake. If you notice this, ensure your agar concentration is adequate (don't skimp on the gelling agent) and ensure your containers are not placed in direct, hot sunlight which causes heavy condensation.
Endophytic Contamination: If the sticky stems were not cleaned thoroughly during the pre-wash, you may see bacterial blooms (cloudy, milky rings) around the base of the explant within a few days. If this is a recurring issue, consider adding 1-2 ml/L of Plant Preservative Mixture (PPM) to your Stage 1 media.
Closing
Petunia micropropagation is highly rewarding, offering a rapid turnaround from a single cutting to a container full of multiplying shoots. The primary challenge lies in getting past their sticky, dust-trapping exterior during sterilisation. Stick closely to your sterile techniques, monitor your containers daily for the first week, and you will soon have a vast collection of identical plants ready to brighten up your garden!
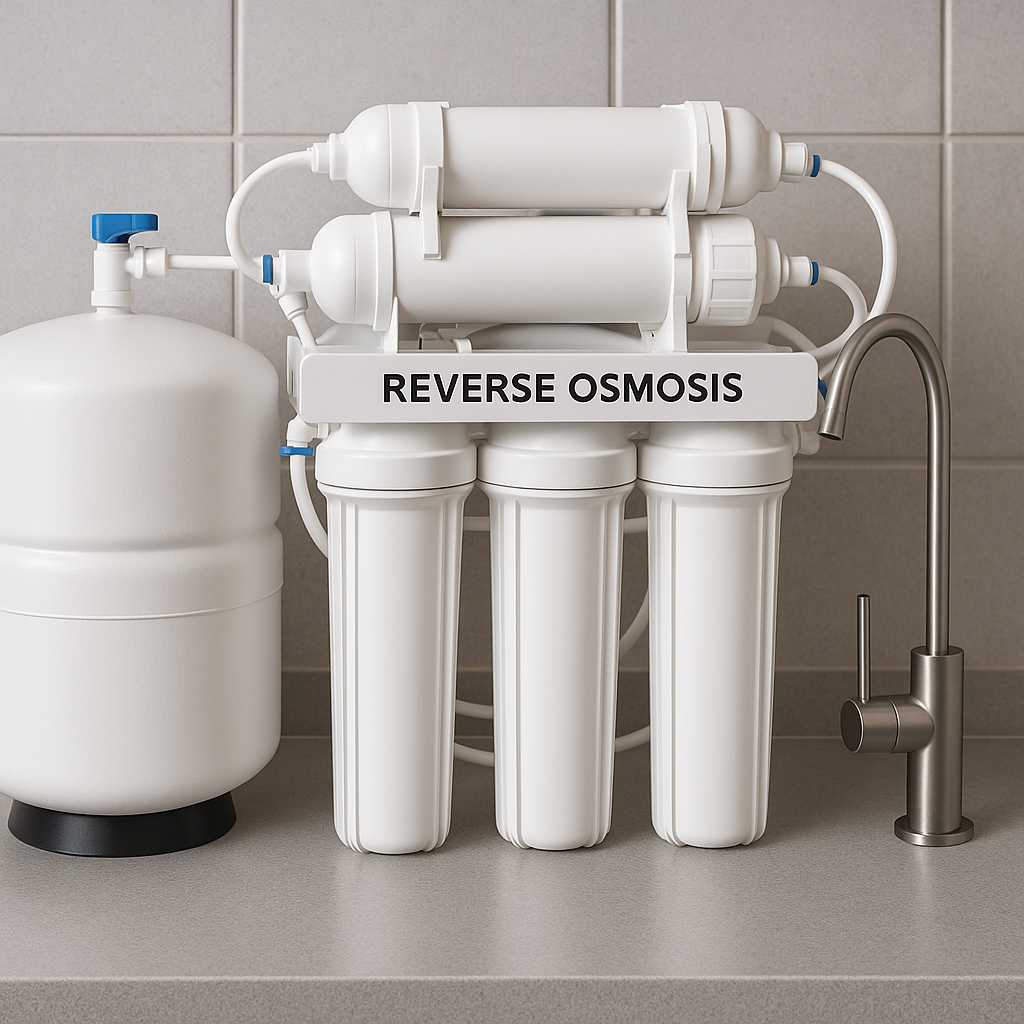
Benefits of Reverse Osmosis Water for Plant Tissue Culture