Monstera Deliciosa Tissue Culture Protocol
Welcome to this comprehensive Tissue Culture Protocol for the iconic Monstera Deliciosa. Whether you are looking to preserve a prized variegated specimen or simply exploring cloning plants at home, this guide is tailored for the home hobbyist. Micropropagation might seem daunting, but with a basic home laboratory setup and strict adherence to sterile techniques, Plant Tissue Culture is a highly rewarding endeavour.

Explant
For successful Monstera Deliciosa tissue culture, the most reliable explant is the nodal segment. This is a small piece of the stem containing an axillary bud (the small bump where a new vine will emerge). Avoid using mature leaves or aerial roots, as these are highly resistant to establishing in tissue culture.
Sterilisation Method
Monstera stems have nooks and crannies that can easily hide fungal spores and bacteria. Thorough sterilisation is critical. All steps from step 4 onward must be done inside your sterile workspace.
- Pre-wash: Vigorously wash the cut Monstera stem sections under running tap water with a few drops of standard dish soap for 5-10 minutes. Use a soft toothbrush to gently scrub the exterior.
- Alcohol Dip: Submerge the nodes in 70% Isopropyl Alcohol (IPA) for exactly 30 seconds. Do not exceed this time, or you risk burning the plant tissue.
- Bleach Solution: Transfer the explants to a sealed container holding a 10% household bleach solution (1 part standard unscented bleach to 9 parts water) mixed with 3 drops of dish soap or Tween-20 (as a surfactant).
- Agitation: Shake the container gently but continuously for 15 minutes.
- Sterile Rinses: Carefully drain the bleach and rinse the explants three separate times using sterile, distilled water. Leave the explants in the water for 3 minutes for the first two rinses, and 5 minutes for the final rinse to ensure all bleach is removed.
Media Formulation [1 Litre]
The following recipes are based on a 1-litre volume using standard Murashige and Skoog (MS) media powder. For all stages, you will need 30 grams of standard table sugar (sucrose) and 7-8 grams of agar as a gelling agent. Ensure the pH is adjusted to between 5.6 and 5.8 before adding the agar and pressure cooking (sterilising) the media.
Stage 1: Establishment
- 100% (Full-strength) MS Media
- 1.0 mg/L BAP (6-Benzylaminopurine)
- Goal: To safely introduce the node to the media, encourage bud swelling, and monitor for initial contamination.
Stage 2: Multiplication
- 100% (Full-strength) MS Media
- 3.0 mg/L BAP
- 0.1 mg/L NAA (1-Naphthaleneacetic acid)
- Goal: A high ratio of cytokinin (BAP) to auxin (NAA) triggers the plant to rapidly shoot and create multiple clones from the original node.
Stage 3: Rooting
- 50% (Half-strength) MS Media
- 1.0 mg/L IBA (Indole-3-butyric acid)
- Goal: Lowering the nutrient load and introducing a root-stimulating auxin (IBA) prepares the plantlets for eventual transfer to soil.
Sterile Environment Methods
Once your explants are sterilised, they must be trimmed and plated in a completely sterile environment to prevent airborne mould and bacteria from landing on your nutrient-rich media.
Still Air Box (SAB) Method
A Still Air Box relies on completely still air to prevent contaminants from floating into your workspace.
- Preparation: Spray the entire interior of the SAB with 70% IPA and wipe it down with a clean paper towel.
- Load the Box: Place your sealed, sterile media containers, your sterile water container (holding the explants), and your sterile tools into the box. Spray the outside of every container with IPA as it enters the box.
- Wait: Close the armholes and wait 10 minutes. This allows the alcohol fumes to settle and any disturbed airborne particles to fall to the floor of the box.
- Workflow: Insert your arms slowly. Minimise sudden hand movements. Trim the dead, bleached ends off the node using a sterile scalpel.
- Plating: Open your media container, place the node gently on the surface of the agar (bud facing up), and quickly seal the lid. Do not reach your hands over open containers.
Laminar Flow Hood Method
A Flow Hood pushes a constant stream of HEPA-filtered, sterile air toward you, creating a highly forgiving clean workspace.
- Preparation: Turn on the flow hood and let it run for at least 30 minutes before working. Wipe the stainless steel working surface with 70% IPA.
- Placement: Place your sterile tools, media, and explants in the middle of the hood workspace. Keep all items at least 6 inches from the front edge of the filter.
- Mind the Airflow: The most critical rule is to never block the clean airflow. Do not place your hands, non-sterile items, or tool handles behind open containers or the explant, as you will cast a "dirty shadow" of unfiltered air over your sterile work.
- Workflow: With your sterile tools, trim the bleached ends of the node.
- Plating: Open the media container at a slight angle facing the filter, plate the explant with the bud facing upward, and close the lid immediately.
Notes
- Endophytic Bacteria: Monstera deliciosa, especially thick-stemmed varieties, are notorious for harbouring internal (endophytic) bacteria that bleach cannot reach. If you experience milky, cloudy bacterial blooms at the base of your explants within a week, consider adding 1-2 ml/L of Plant Preservative Mixture (PPM) to your Stage 1 media formulation.
- Oxidation: Monstera tissue tends to turn brown or black quickly when cut due to phenolic oxidation. Work quickly, and if necessary, soak the trimmed explants in a sterile ascorbic acid (Vitamin C) solution before plating.
Closing
Mastering Monstera deliciosa micropropagation takes a bit of patience, especially when fighting initial contamination, but seeing that first sterile shoot push through the agar is incredibly satisfying. Stick to your sterile techniques, observe your cultures daily, and you will be well on your way to building an impressive home tissue culture library.
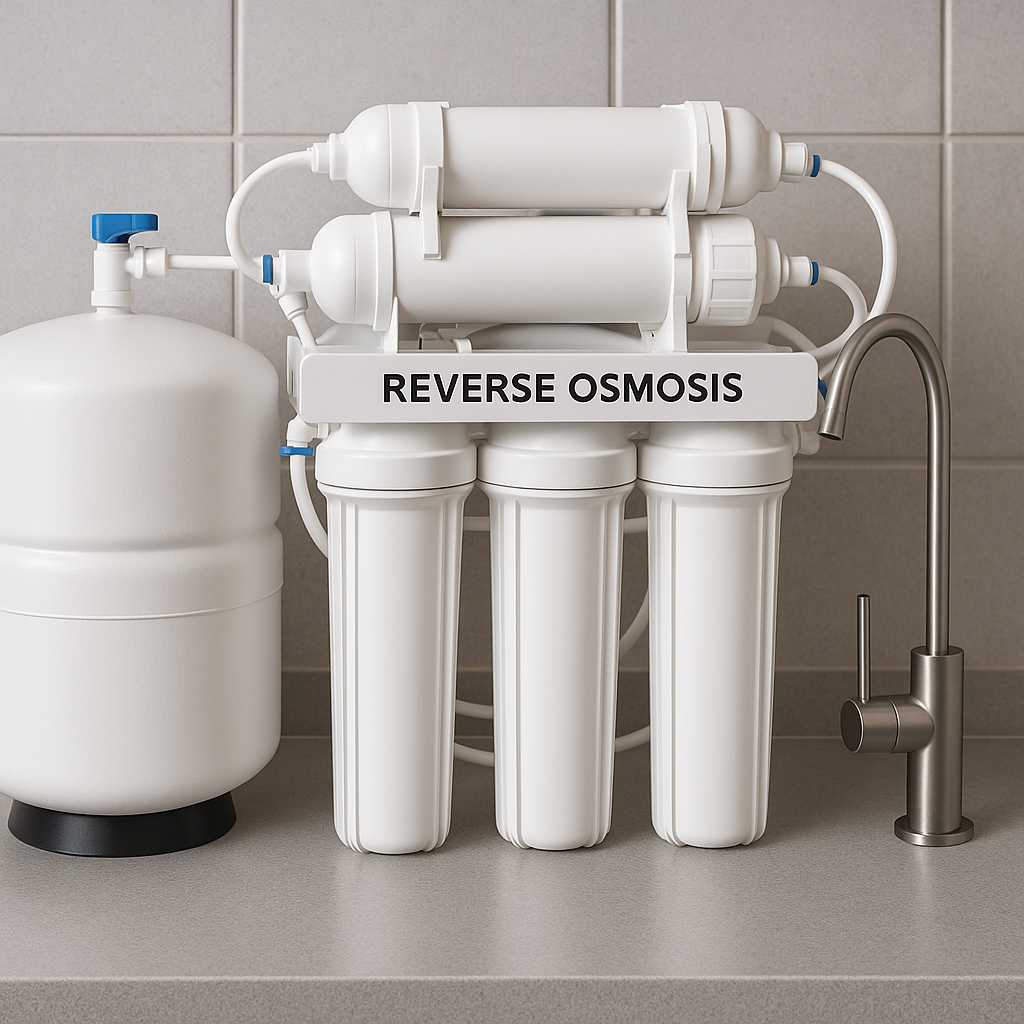
Benefits of Reverse Osmosis Water for Plant Tissue Culture