Begonia Tissue Culture Protocol
Welcome to this comprehensive Tissue Culture Protocol for the Begonia genus. Whether you are preserving a stunning Rex Begonia or exploring cloning plants at home for the first time, this guide is designed specifically for the home hobbyist. Micropropagation is a highly effective way to produce dozens of identical plants from a single leaf, and with a basic home laboratory setup and strict sterile technique, Plant Tissue Culture will quickly become your favourite way to propagate.
Explant
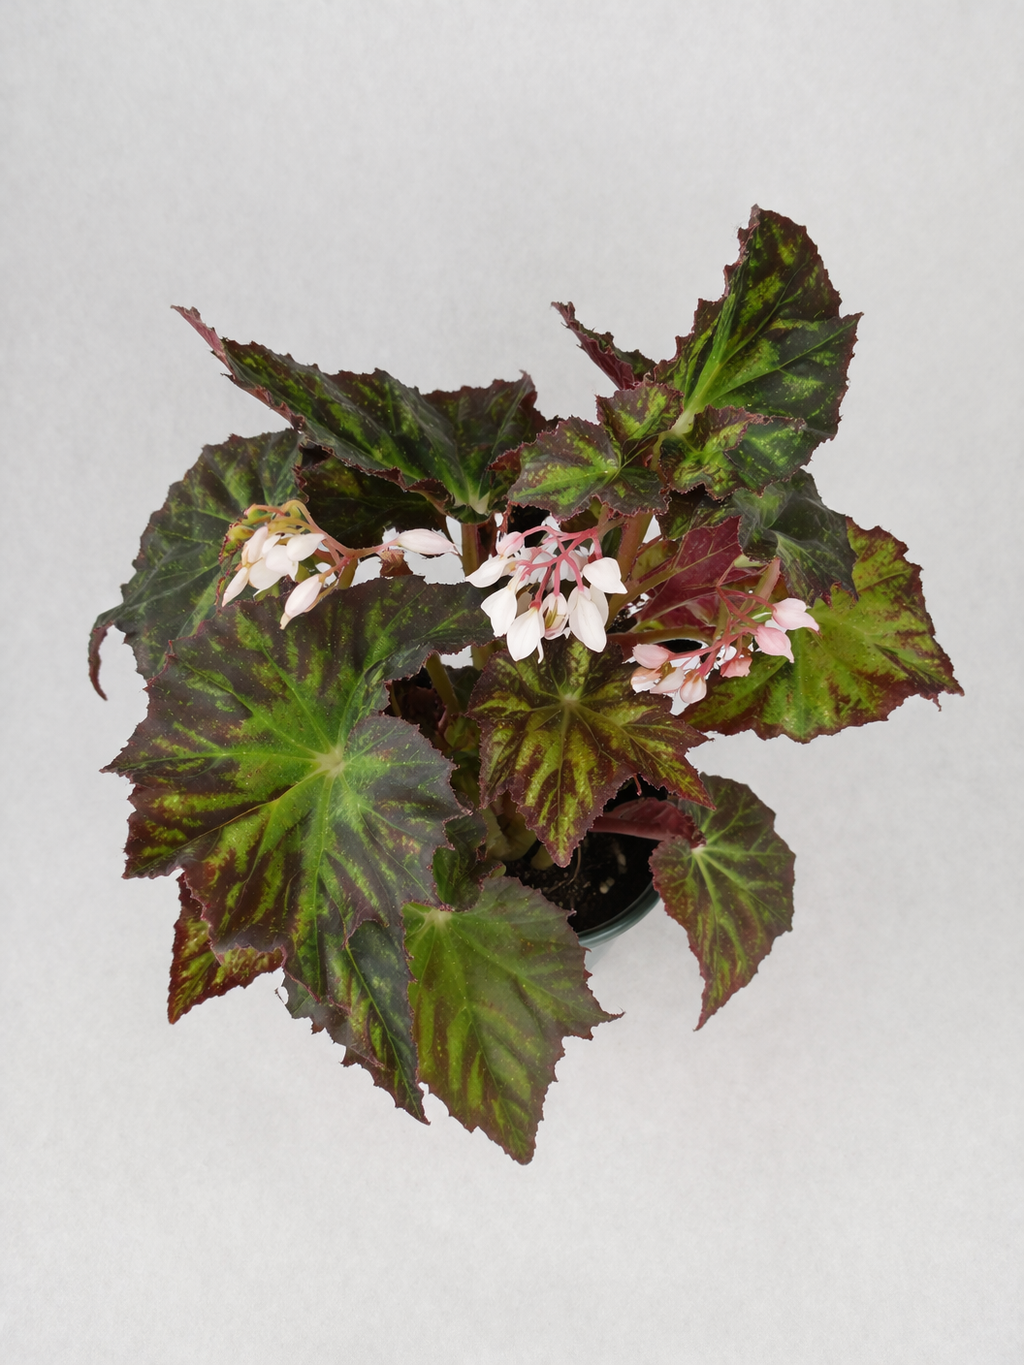
For successful Begonia tissue culture, the most reliable and highly responsive explants are leaf squares (sections of the leaf blade containing a main vein) or petiole sections (the leaf stem). Unlike many other houseplants, Begonia leaf tissue readily forms callus and generates brand-new shoots. Select a healthy, young, and fully expanded leaf, avoiding older leaves that may be degrading or covered in soil debris.
Sterilisation Method
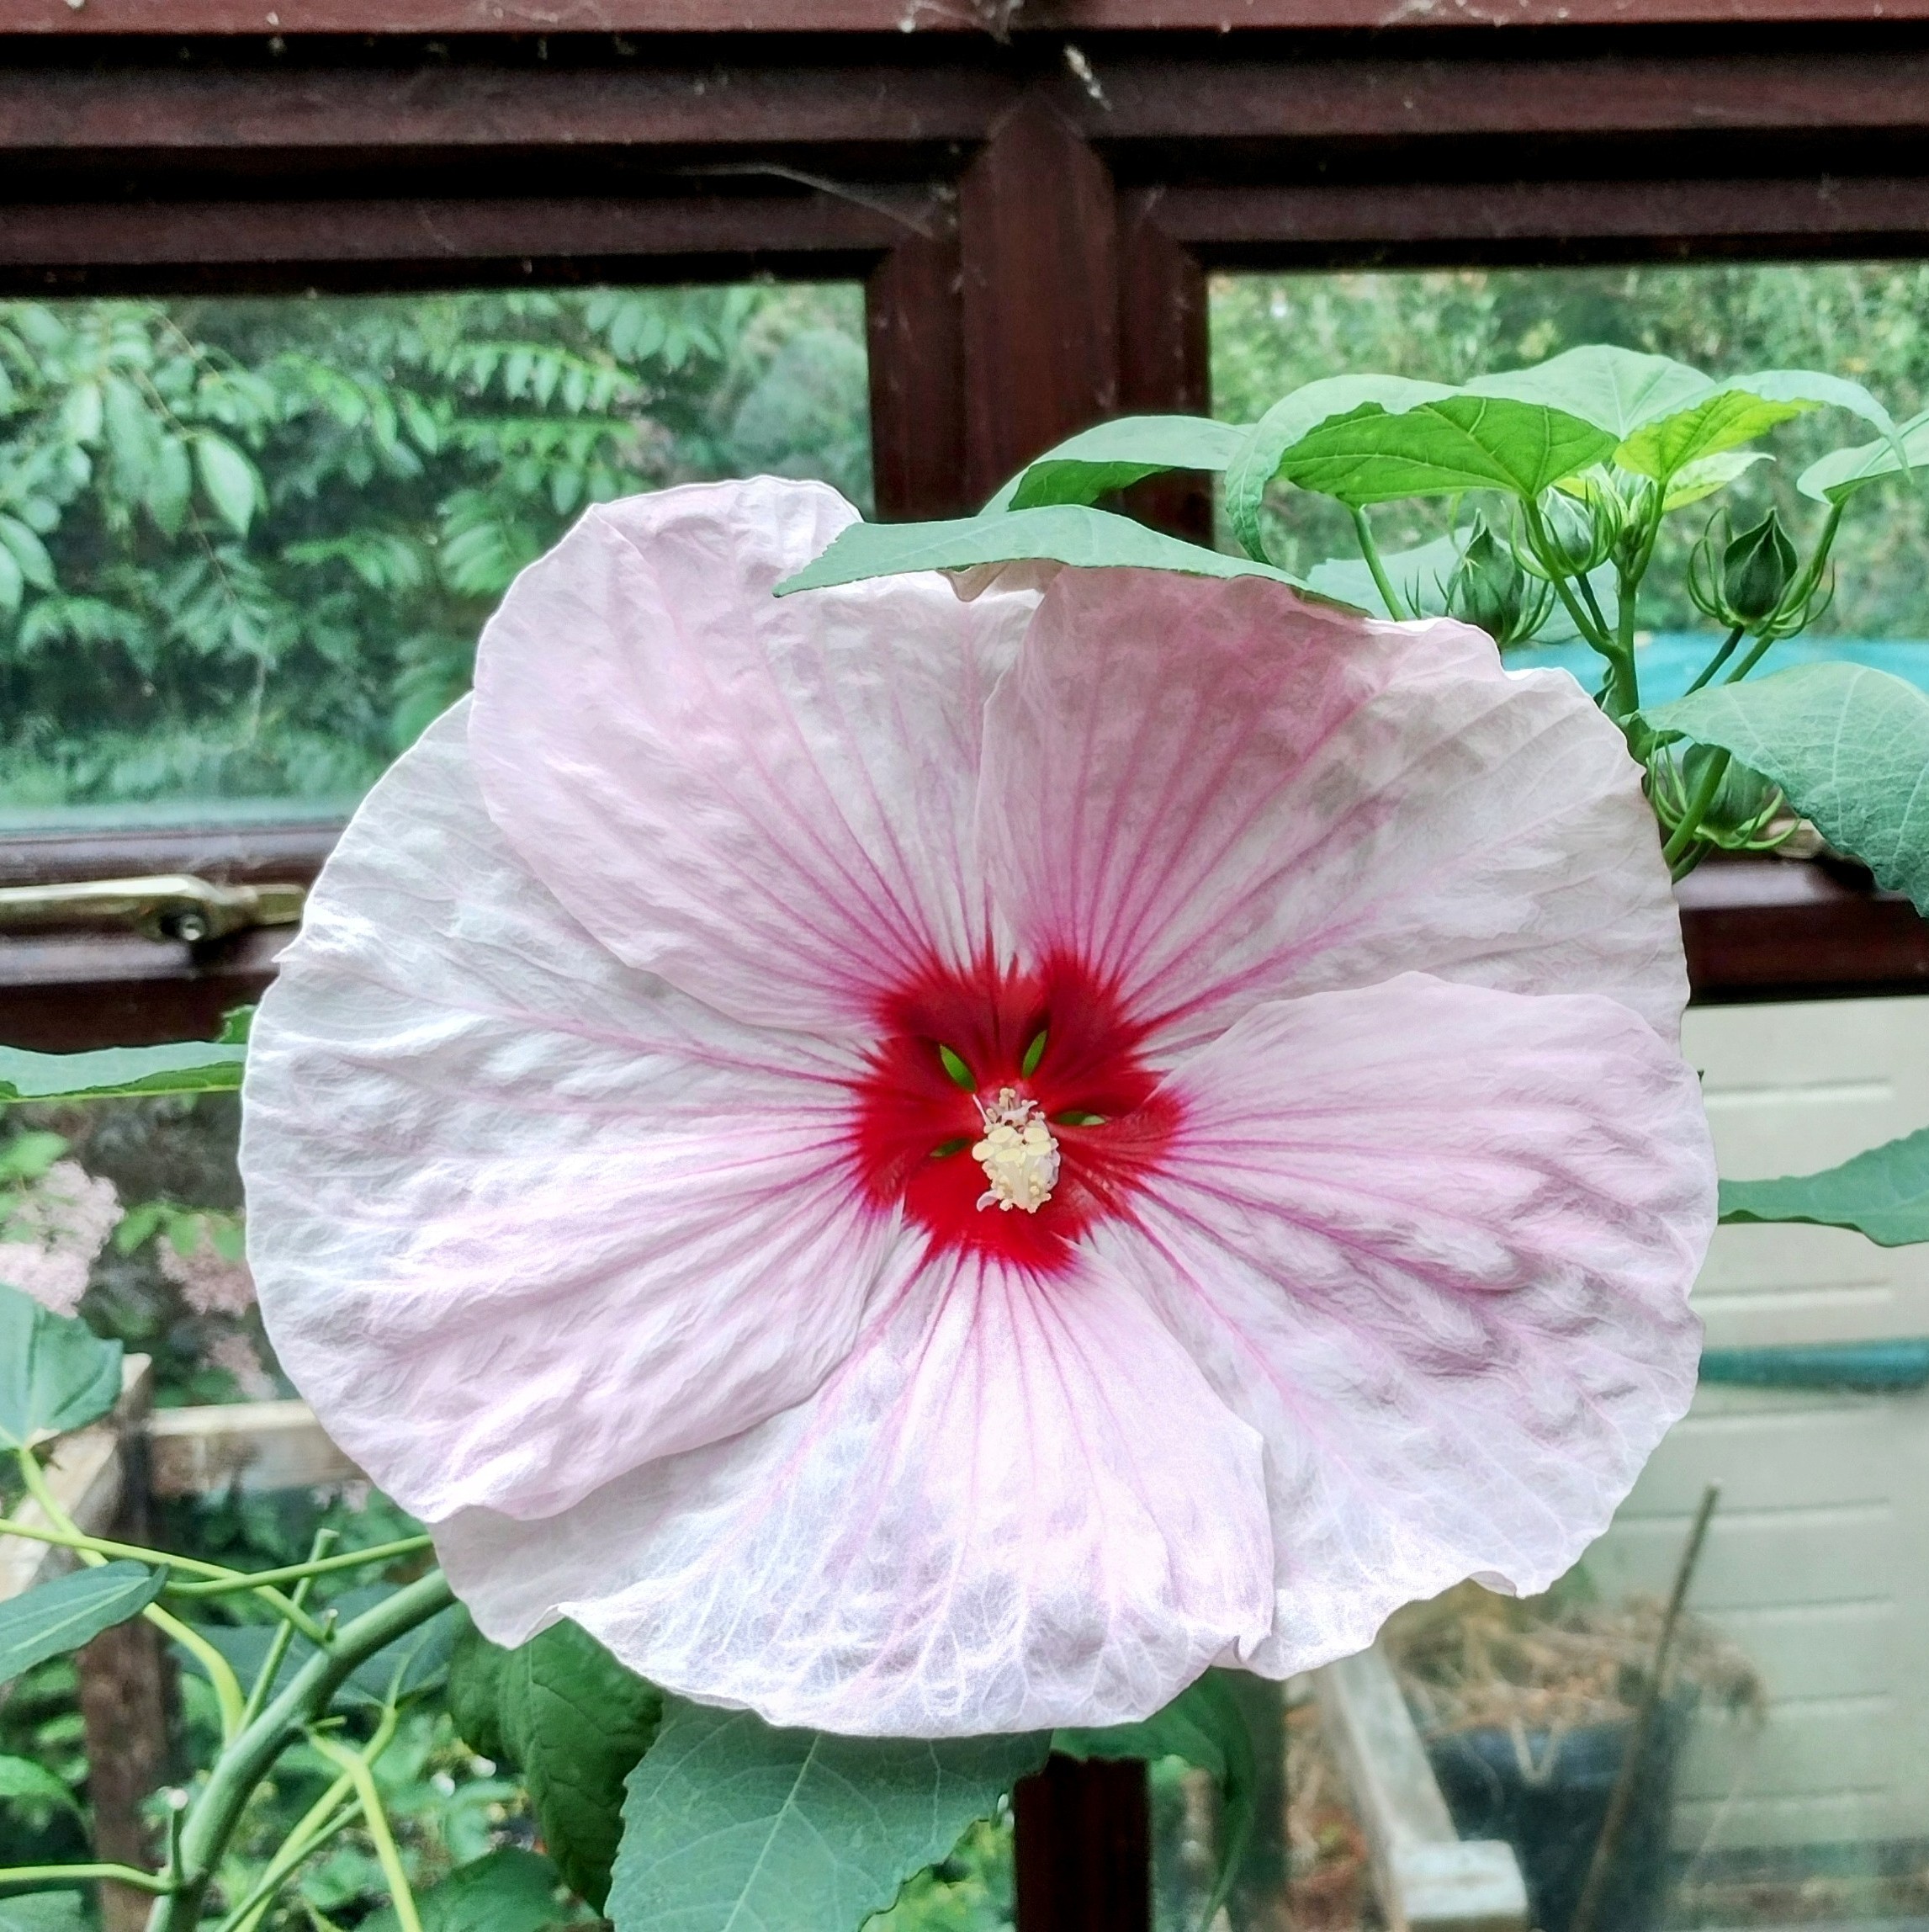
Begonia leaves are often heavily textured and covered in microscopic hairs (trichomes), which can trap air bubbles and protect mould spores and bacteria during cleaning. The use of a surfactant is absolutely vital here. All steps from step 4 onward must be completed inside your sterile workspace.
- Pre-wash: Carefully wash the excised leaf or petiole under gently running tap water with a few drops of standard dish soap for 5 minutes. Use a soft sponge or your fingers to gently rub the surface, being careful not to bruise the delicate tissue.
- Alcohol Dip: Submerge the explant in 70% Isopropyl Alcohol (IPA) for exactly 15 seconds. Begonia tissue is thinner and more delicate than many aroids, so a shorter dip prevents chemical burns.
- Bleach Solution: Transfer the explant to a sealed container holding a 10% household bleach solution (1 part standard unscented bleach to 9 parts water). You must add 3 to 4 drops of dish soap or Tween-20 to act as a surfactant; this breaks the surface tension so the bleach can penetrate the tiny leaf hairs.
- Agitation: Shake the container gently but continuously for 10 minutes.
- Sterile Rinses: Carefully drain the bleach and rinse the explant three separate times using sterile, distilled water. Leave the explant in the water for 3 minutes for the first two rinses, and 5 minutes for the final rinse to ensure all chemical residue is neutralised.
Media Formulation [1 Litre]
The following recipes are based on a 1-litre volume using standard Murashige and Skoog (MS) media powder. For all stages, you will need 30 grams of standard table sugar (sucrose) and 7-8 grams of agar as a gelling agent. Ensure the pH is adjusted to 5.6-5.8 before adding the agar and pressure cooking (sterilising) your media.
Stage 1: Establishment
- 100% (Full-strength) MS Media
- 1.0 mg/L BAP (6-Benzylaminopurine)
- 0.1 mg/L NAA (1-Naphthaleneacetic acid)
- Goal: To safely introduce the leaf tissue to the nutrient media, encourage callus formation along the cut veins, and monitor the container for initial contamination.
Stage 2: Multiplication
- 100% (Full-strength) MS Media
- 1.0 to 2.0 mg/L BAP
- 0.1 mg/L NAA
- Goal: The elevated cytokinin (BAP) forces the callused tissue to rapidly differentiate and push out multiple new microscopic shoots directly from the leaf surface.
Stage 3: Rooting
- 50% (Half-strength) MS Media
- 0.5 mg/L NAA or IBA (Indole-3-butyric acid)
- Goal: Begonias root prolifically. Lowering the fertiliser content and adding a mild rooting hormone prepares the small plantlets for successful acclimatisation into soil.
Sterile Environment Methods
Once your explants are sterilised, they must be trimmed and plated in a completely sterile environment to prevent airborne mould and bacteria from ruining your cultures.
Still Air Box (SAB) Method
A Still Air Box relies on completely still air to prevent contaminants from floating into your workspace.
- Preparation: Spray the entire interior of the SAB with 70% IPA and wipe it down with a clean paper towel.
- Load the Box: Place your sealed, sterile media containers, your sterile water container (holding the explants), and your sterile tools into the box. Spray the outside of every container with IPA as it enters the box.
- Wait: Close the armholes and wait 10 minutes. This crucial step allows the alcohol fumes to settle and any disturbed airborne particles to fall to the floor of the box.
- Workflow: Insert your arms slowly. Minimise sudden hand movements to keep the air still. Using your sterile tools, carefully trim the bleached, dead edges off your leaf square or petiole to expose fresh, clean tissue.
- Plating: Open your media container, place the explant gently on the surface of the agar (ensuring good contact between the cut vein/edge and the media), and quickly seal the lid. Do not reach your hands or arms over open containers.
Laminar Flow Hood Method
A Flow Hood pushes a constant stream of HEPA-filtered, sterile air toward you, creating a highly forgiving clean workspace.
- Preparation: Turn on the flow hood and let it run for at least 30 minutes before working to purge the room air. Wipe the stainless steel working surface with 70% IPA.
- Placement: Place your sterile tools, media, and explants in the middle of the hood workspace. Keep all items at least 6 inches from the front edge of the filter.
- Mind the Airflow: The most critical rule is to never block the clean airflow. Do not place your hands, non-sterile items, or tool handles behind open containers or the explant, as you will cast a "dirty shadow" of unfiltered air over your sterile work.
- Workflow: Using your sterile tools, neatly trim the bleached outer edges of the leaf or petiole section to expose perfectly green, living tissue.
- Plating: Open the media container at a slight angle facing the filter. Plate the explant on the agar, ensuring the cut edges make firm contact with the gel, and close the lid immediately.
Notes
- Orientation: When plating leaf squares, place the abaxial (underside) of the leaf flat against the media. This generally yields a higher rate of shoot formation.
- Condensation: Begonia tissue in culture is highly susceptible to hyperhydricity (a condition where the plant takes up too much water and becomes glassy and brittle). Ensure your media containers are not stored in areas with fluctuating temperatures, as this causes heavy condensation that can drip onto the delicate plantlets and cause them to rot.
- Floating Spores: Because Begonias are often grown close to the soil surface, the leaves naturally carry a higher load of environmental mould spores compared to tall climbing aroids. Do not skip the pre-wash step!
Closing
Begonia micropropagation is visually spectacular, as you get to witness completely new plants springing forth from a single cut vein. The hairy leaves demand strict attention to your sterilisation process, but the results are more than worth the effort. Stick closely to your sterile techniques, monitor your containers, and enjoy multiplying your collection!
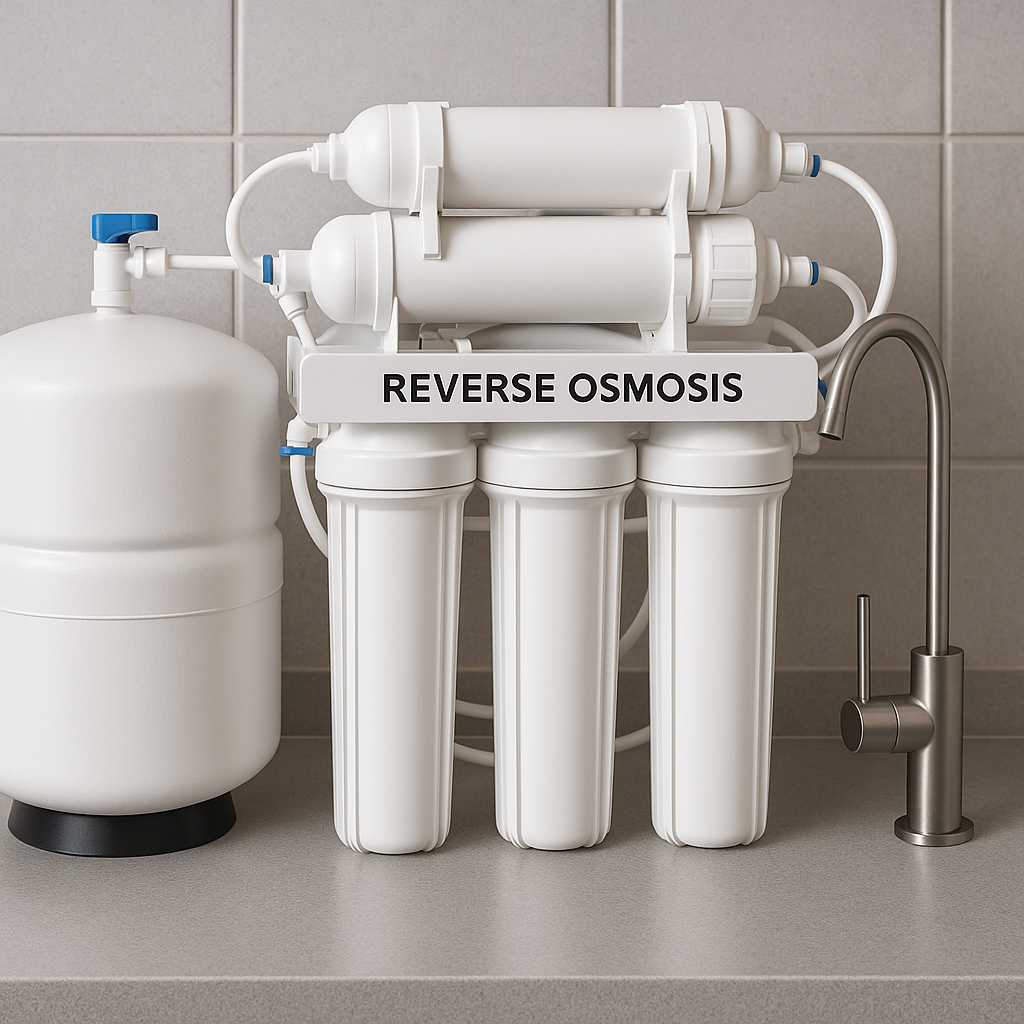
Benefits of Reverse Osmosis Water for Plant Tissue Culture